Hello Community,
We are glad to present an add-on CS-Cart Stripe POS Terminal Connector.
Short Description
The CS-Cart Stripe POS Terminal Connector by Webkul lets POS agents process card payments using the Stripe terminal.
Features
- POS agents can handle card transactions via Stripe.
- Admin can allocate specific Stripe terminals to each POS site for better management.
- A single POS system can accommodate multiple Stripe readers, providing adaptability.
- The built-in simulator can be utilized to evaluate Stripe payment processing.
- Admin can monitor and control various POS locations from the admin backend.
- Payment information for card transactions is automatically shown on the order receipt.
- Stripe is compatible with major credit card brands, such as Discover, Visa, Mastercard, and American Express.
- Each POS location can be organized through the assignment of individual Stripe terminals.
- The integration of multiple Stripe readers allows for greater operational flexibility within a single POS system.
Installation Process
After downloading the add-on, you get one zip file and the install.txt file. Please read it carefully and follow it.
Now, navigate to the admin backend panel via Add-ons->Manage add-ons. Tap on the cog icon, and then tap the Manual installation option.

After that, a pop-up comes up, and on that click on “Local” to browse the zip file. Then click on the “Upload & install” button.

After installation of the add-on, you will find the “Stripe POS” in the list of available add-ons.

Generate Stripe API Credentials
First Step: Go to the Strip dashboard and enter your login details.
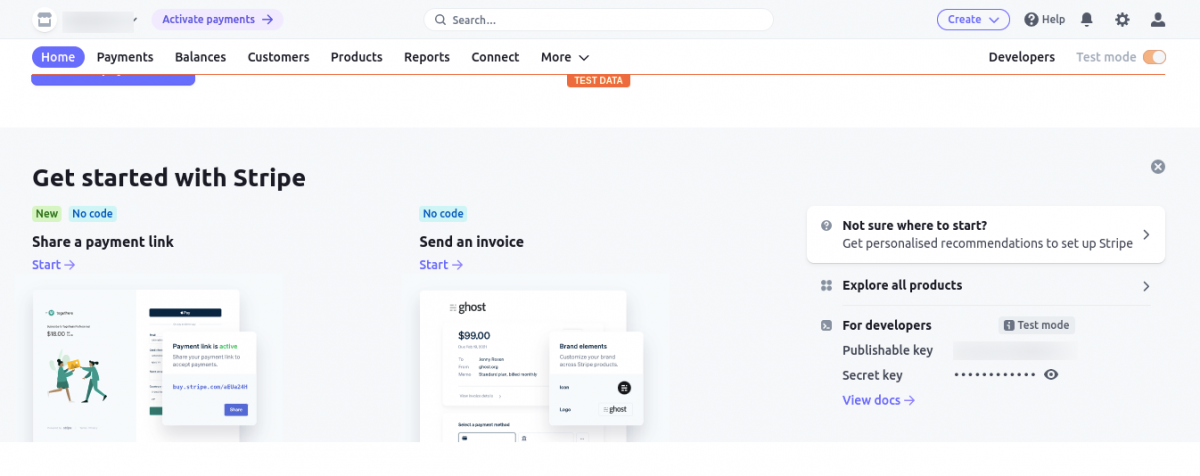
Second Step: Now on the Home tab, the test keys will display.
Third Step: Click the Developers option present in the top right corner then the API Keys menu option on the side panel to see the live Publishable key(API Publishable Key).
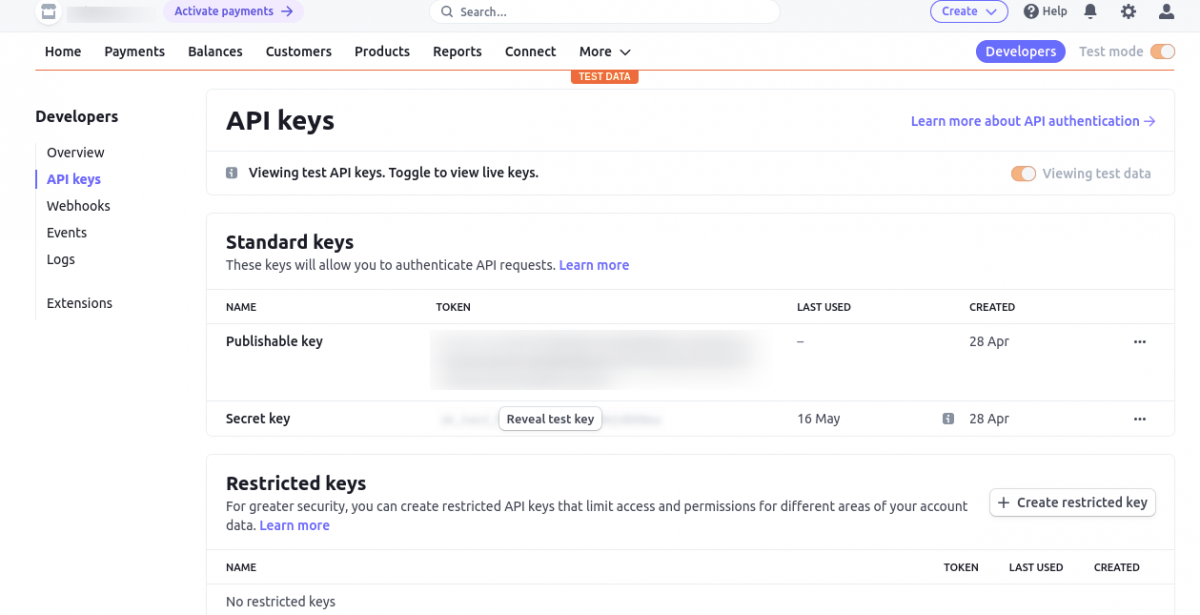
Now, click the “Reveal test key token” to get your Secret Key(API Key). Clicking the “Reveal test key token” will bring up the – Secret Key(API Key).
Admin Configuration of CS-Cart Stripe POS Terminal Connector
After the successful Connect the API for the POS system module admin will be able to view the POS Stripe Terminal tab where the admin may manage the Stripe payment connector.
Now, The admin can configure the module by navigating to Add-ons> Developers> Webkul Software> Stripe POS.
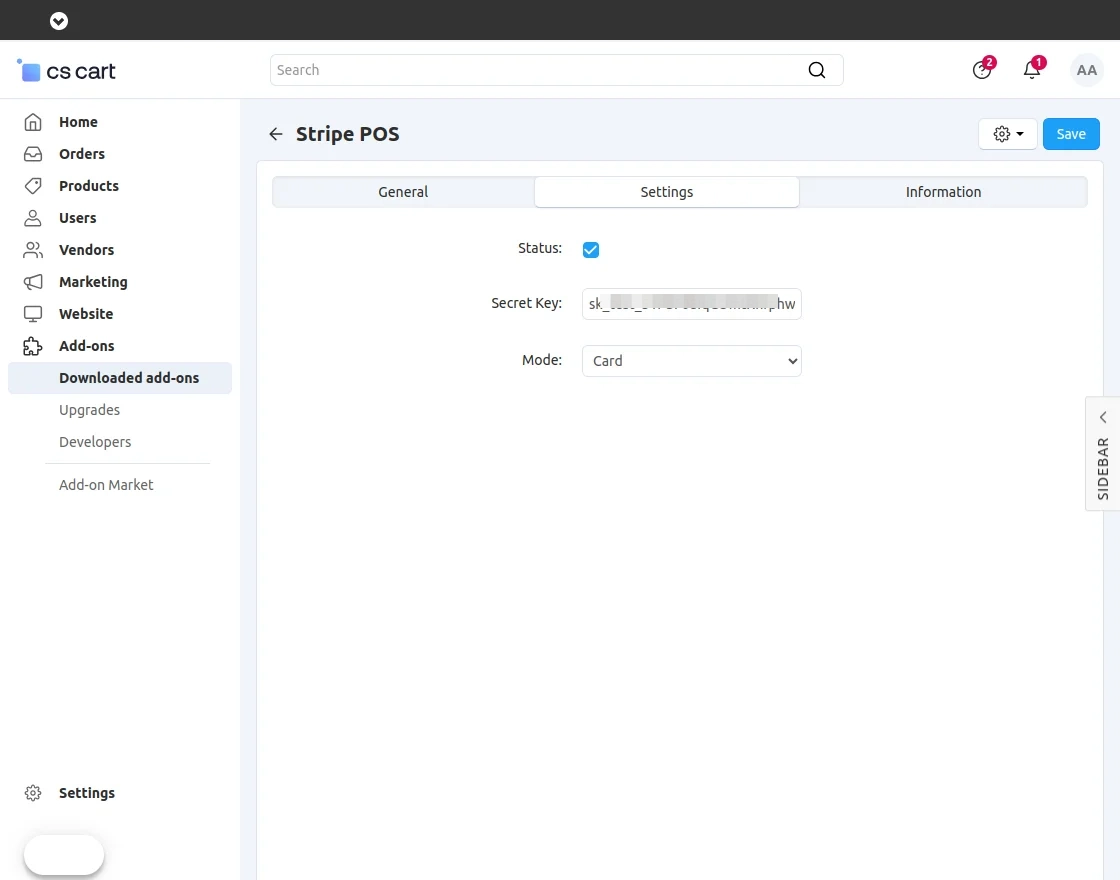
In the module configuration,
- Status: Activate the module by checking the “Status” Check box.
- Secret Key: Enter the Stripe secret keys provided by Stripe in the designated field.
- Mode: Select “Card” as the mode for payment processing. Optionally, enable the simulator mode for testing purposes.
After configuration, the admin saves the settings.
Add Location
Following configuration, proceed to add the location address and provide a name for the POS terminal.

Add Readers
Add POS reader information and associate it with the previously added location.

Provide a label for the POS reader, select the corresponding location created earlier, and input the POS “Registration Code” provided by the card reader.
When it’s turned on to establish the connection.
POS Agent Workflow
The POS agent clicks to stripe POS and selects the reader from the dropdown. Once the reader is connected to the POS, a popup will show a success message.

The POS agent begins a sale transaction with a customer by adding products or services to the cart within the POS system.

During the checkout process, the POS agent selects “Card Payment” as the payment method for the customer’s order.

If live mode is active, the POS agent ensures that the internet connection is stable and proceeds with the payment.

After a successful payment, the POS agent generates an order receipt the receipt includes payment details and confirmation.
That’s all for the add-on.
if you have any issues, feel free to create a ticket at Create Ticket